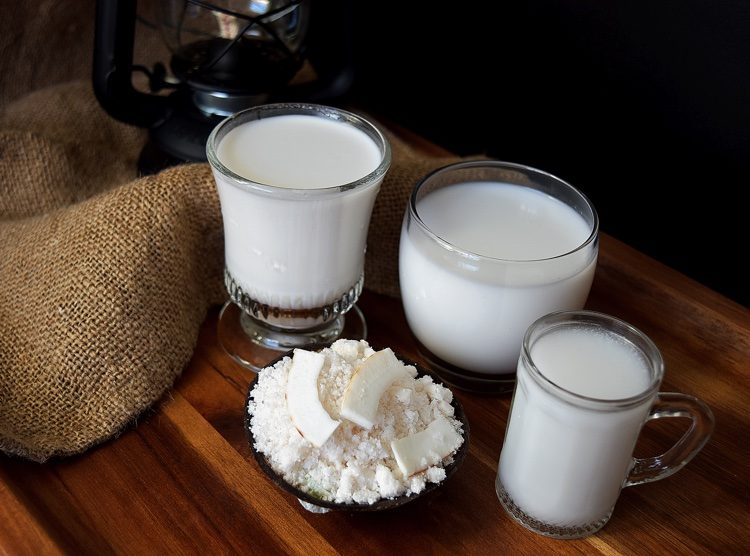
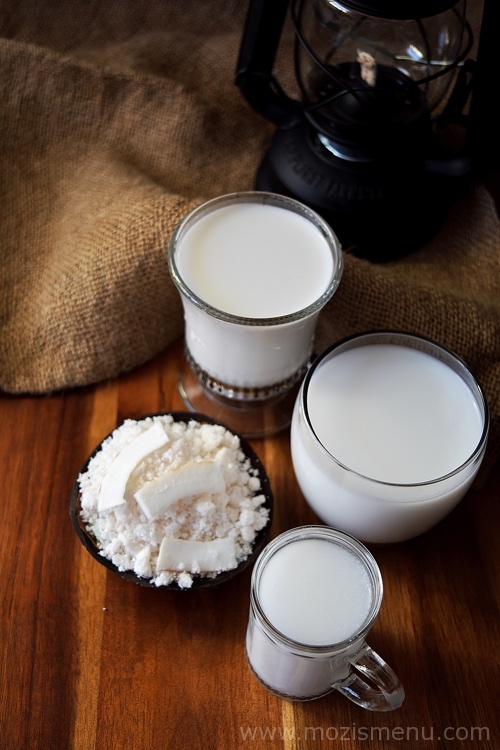
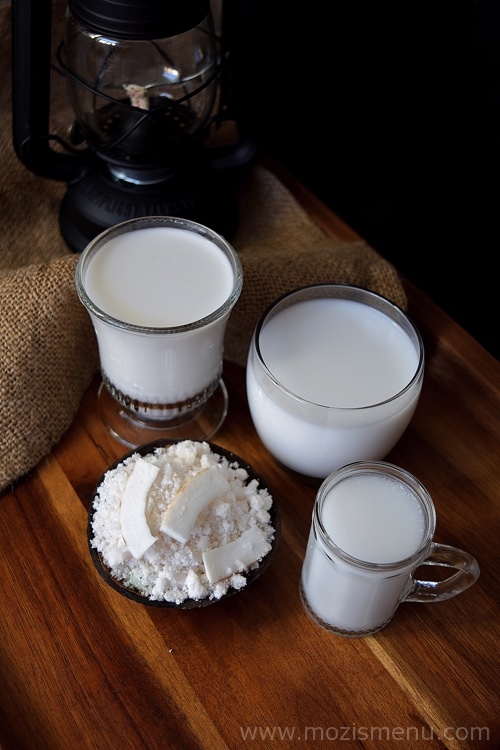
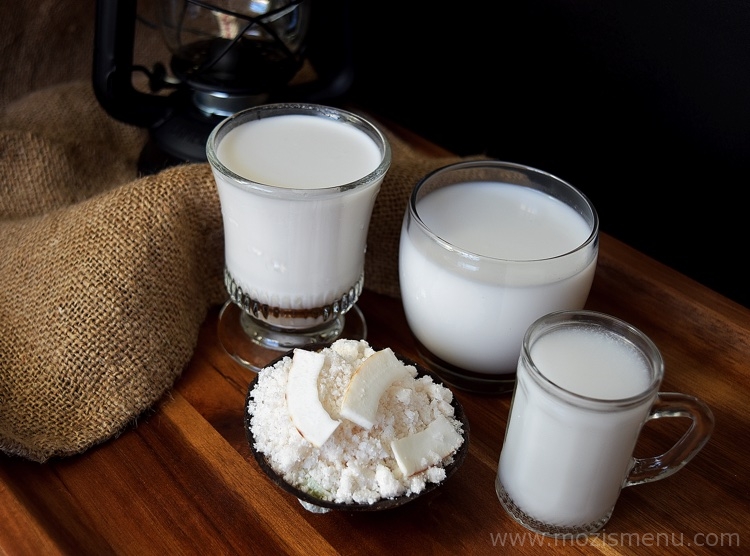
Coconut is a staple in almost all homes in South India, including ours. As I’m from Kerala, I couldn’t possible make anything without it! From vegetarian to non-vegetarian dishes, homemade Coconut Milk / Thengai Paal / Thenga Paalu gives that extra flavor and creamy consistency to all my gravies. It is a fantastic and healthy substitute for regular milk. As I haven’t shared the recipe for this awesome base till now, I thought of sharing it this time with you.
Homemade Coconut Milk / Thengai Paal / Thenga Paalu is pretty simple to make; so I would highly recommend that you give it a try. Maybe this recipe is not as exciting as the main dishes or desserts, but I believe that you can benefit from learning how to make this Homemade Coconut Milk / Thengai Paal / Thenga Paalu. Not only does it improve the taste of dishes made with it as the base, it also adds some fantastic nutritional benefits! Unlike cow’s milk, coconut milk is lactose free – so it can be used as a milk substitute by those with lactose intolerance and it is vegan.
Full-fat coconut milk contains all of its natural fatty acids, while “light” coconut milks are strained to remove some of the fat, which creates a thinner, lower-calorie milk. Because coconut milk is completely free from dairy, lactose, soy, nuts or grains, it’s a good option for anyone allergic to dairy and nut-based or grain-based milks.
You can also check out my coconut milk based recipes here:
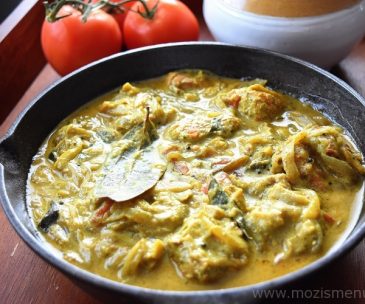
- Kerala Fish (Meen) Molee / Moilee – Kerala Style Fish Stew
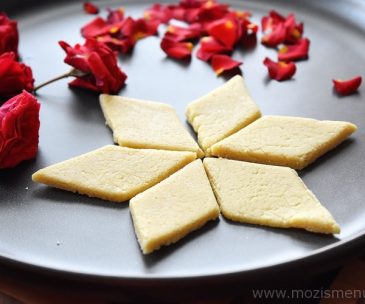
- Broken (Cracked) Wheat Payasam / Pradhaman / Kheer
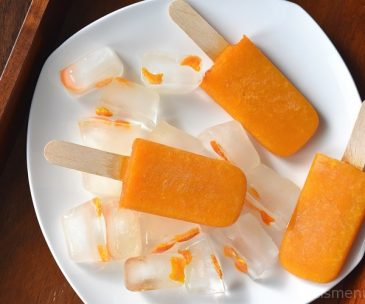
- Mango Coconut Popsicles / Ice Pops
- Poached / Broken Kerala Egg Curry
- Mushroom Pulao / Pulav / Pilaf
If you try this recipe out, please hashtag your photos with #MozisMenu on Instagram and tag me with @MozisMenu. I love seeing your takes on my recipes!
I have a bite-sized video to show you how to make this recipe.
Ingredients
- Coconut – 2 cups, shredded
- Water – 4 cups (1½ + 1½ + 1)
- Cotton cloth / Cheese cloth (or) Sieve
Instructions
- Take a blender, add shredded coconut and blend it roughly first without water.
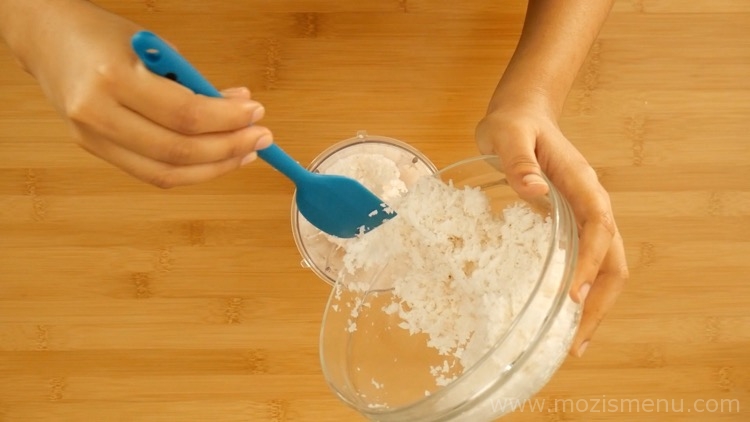
- Now add 1½ cup of water to the coconut.
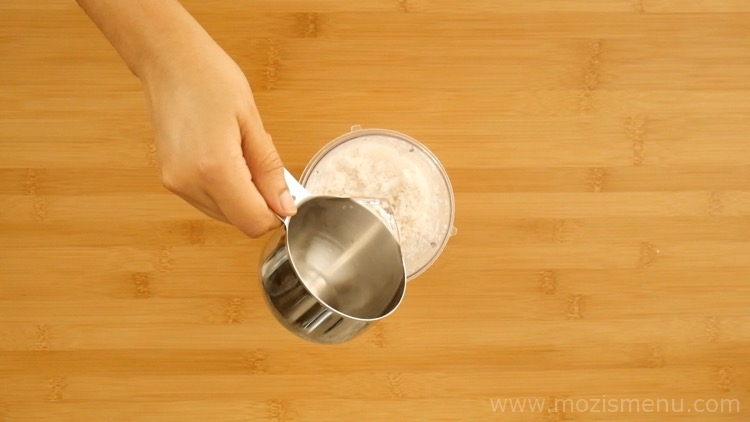
- Blend it until smooth.
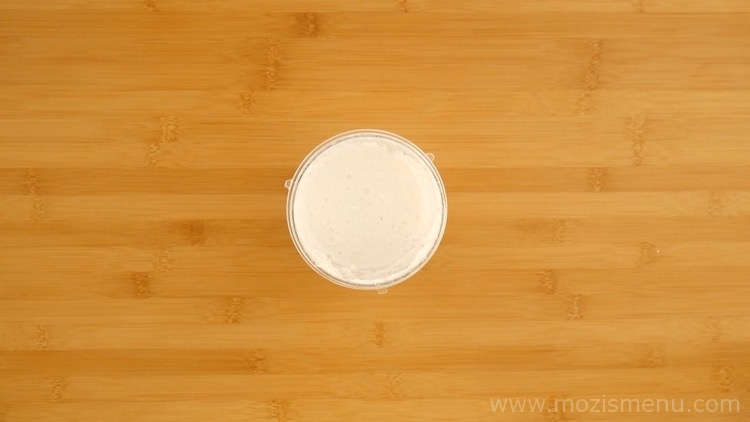
- Take a wide bowl, place a cotton cloth / cheese cloth on top of it and push the cloth half-way down (if you don’t have cotton/cheese cloth, please check the section below titled How to extract using a sieve?).
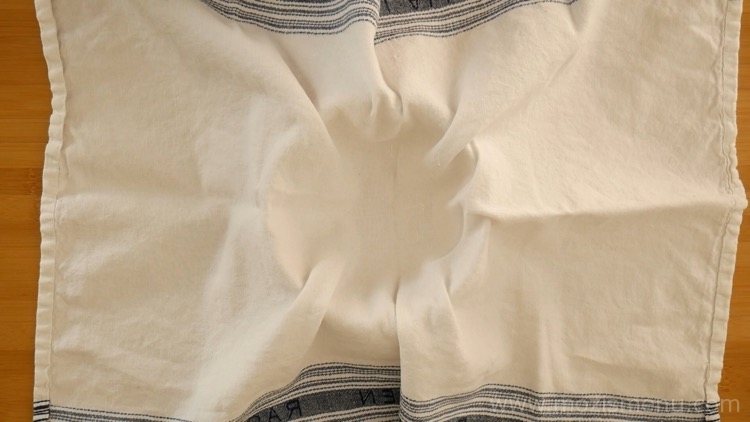
- Pour the coconut paste on top.
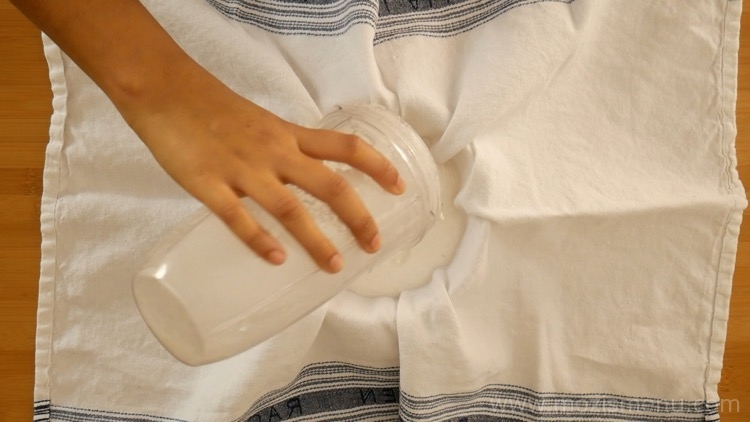
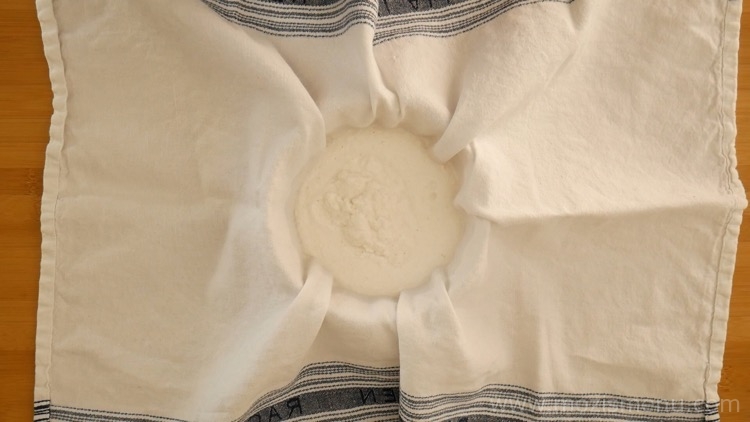
- Wrap the cloth together without any gap and start squeezing it as much as possible to extract the milk.
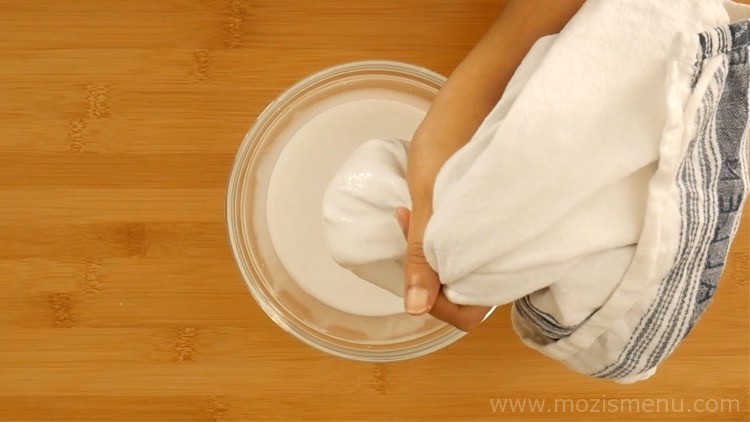
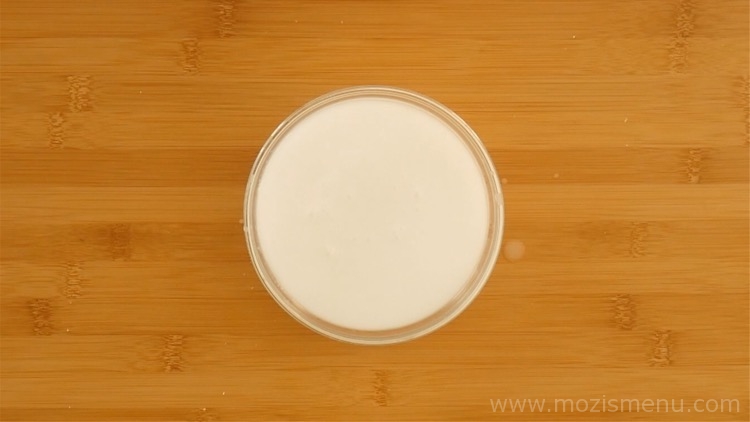
- This is the “first” coconut milk (i.e. thick coconut milk). Keep it aside.
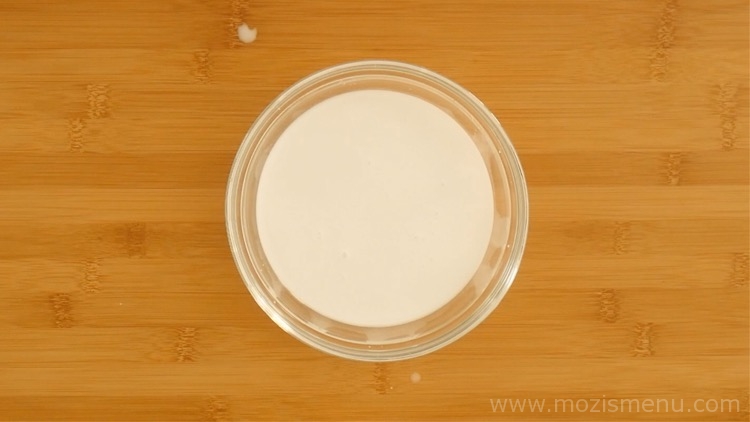
- Again, put the same coconut inside the blender.
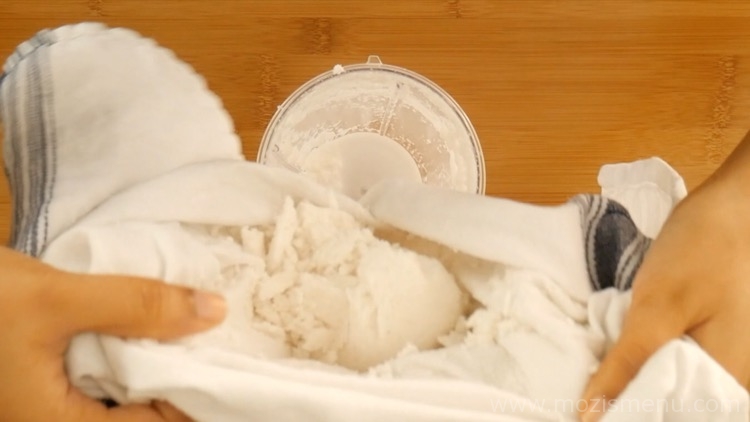
- Add 1½ cup of water and grind it again until smooth.
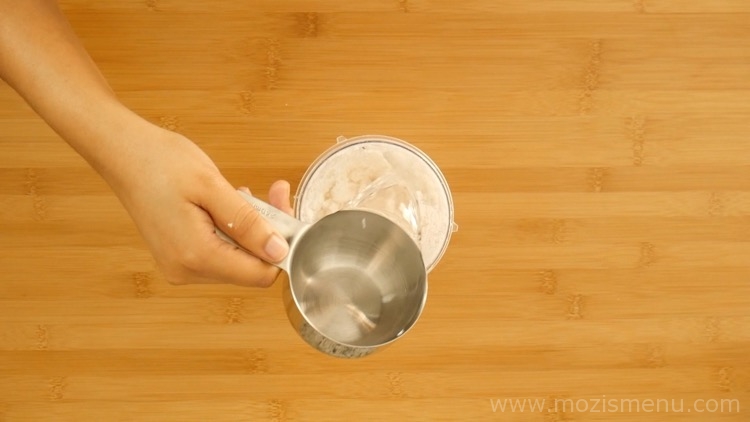
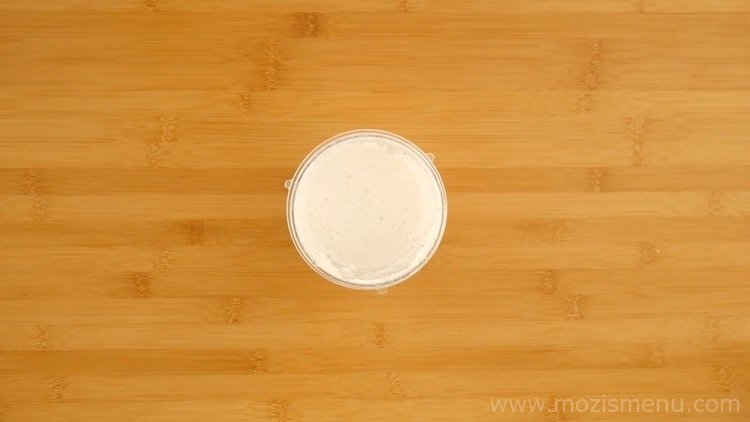
- Take another bowl and place the same cloth. Pour the coconut paste and squeeze again as much as possible to extract the milk.
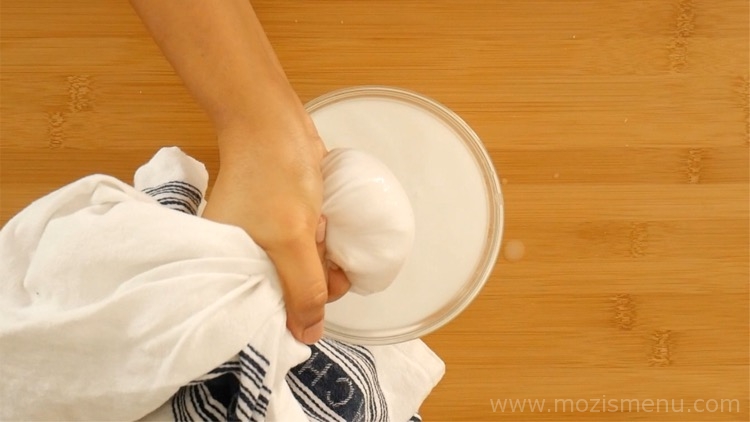
- This is the second coconut milk (i.e. medium thick coconut milk). Keep it aside as well.
- Put the coconut into the blender again for the third time.
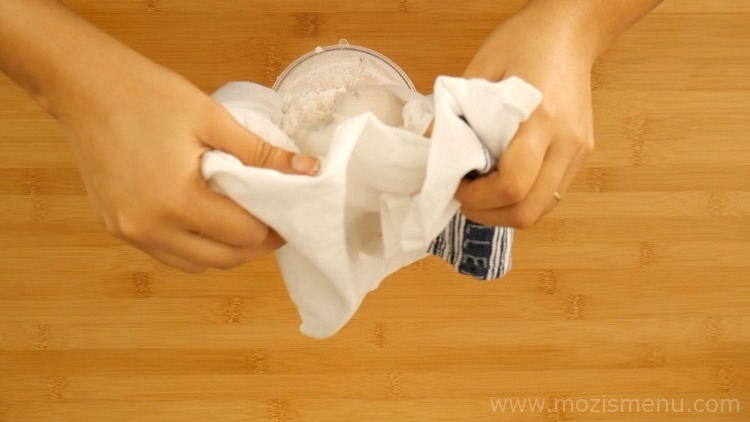
- Add 1 cup of water (as it doesn’t have that much juice to extract this time around, we are not adding too much water).
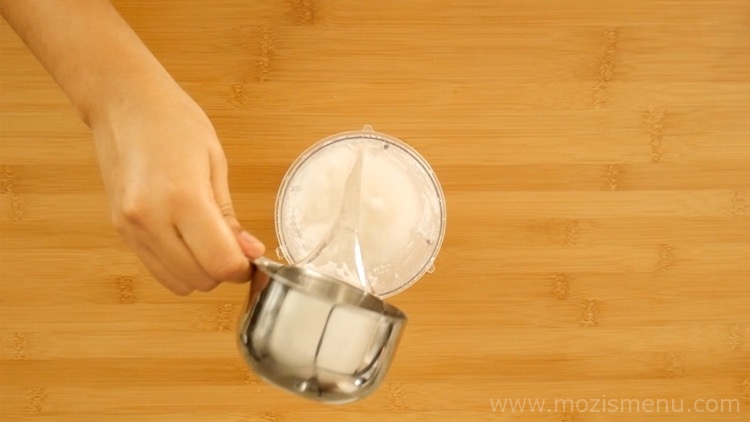
- Grind it again.

- Squeeze the milk again as before.
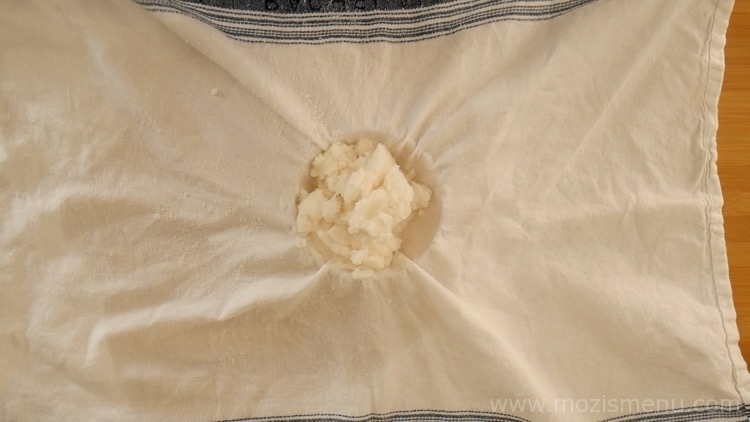
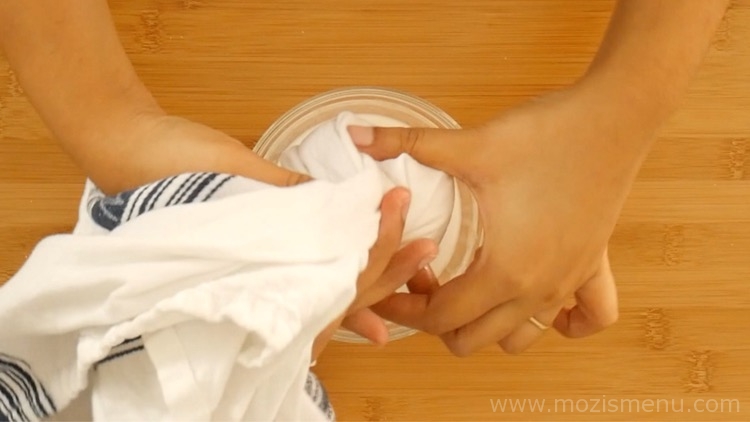
- This is third coconut milk (i.e. thin coconut milk).

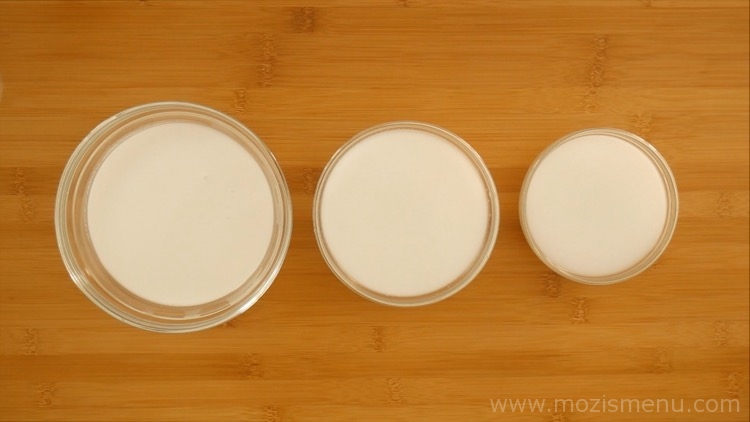
How to extract using a sieve?
- Take a wide bowl, place a sieve on top of it.
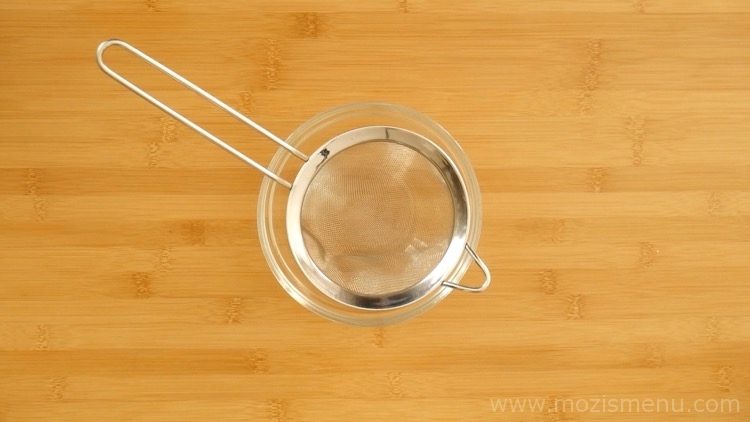
- Pour the Coconut paste inside the sieve.
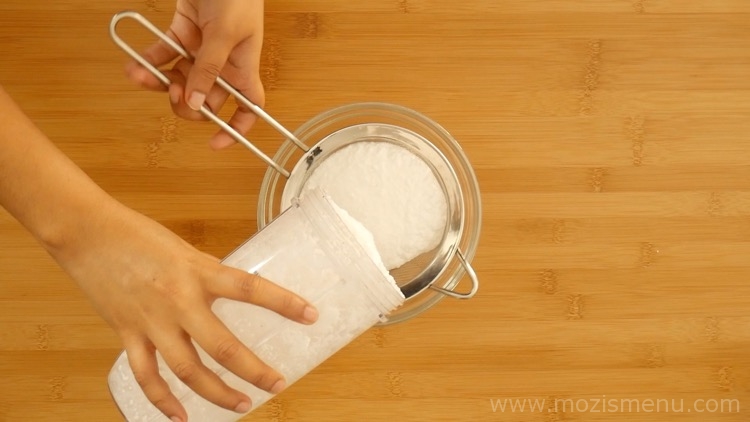
- Using a spatula, press the Coconut to extract as much milk as possible (same method to extract all three milks).
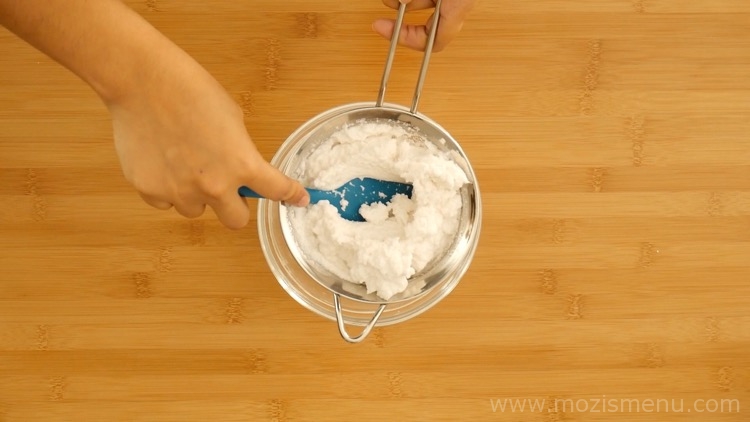
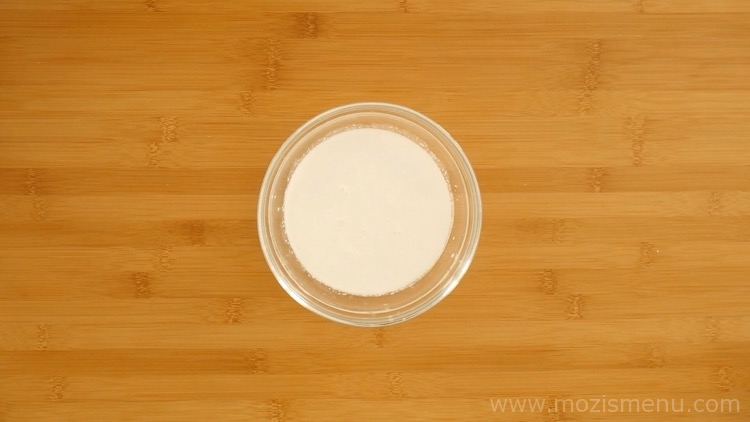
- You can squeeze the pulp to get all the milk out more quickly. Both methods work.
Notes
- Never use dry Coconut to make Coconut milk as it doesn’t have oil content.
- You can use fresh Coconut or if not possible to get a fresh one, you can use frozen shredded Coconut.
- Refrigerated Coconut milk will be fresh for 3 to 5 days in an air-tight container.


 Based on 1 Review(s)
